• Home
    • Rental Spaces
    • FAQ
    • Prop Closet
    • Meet the Team
  • Book
    • Host your own event at Lightbox!
    • Event Tickets
    • Elope at Lightbox
  • Box Blog
  • shop
  • Contact
  • Tour
  • Sign In My Account
Menu

LIGHTBOX

600 E Commercial St
Springfield
Phone Number
A creative space for people with bright ideas.

Your Custom Text Here

LIGHTBOX

  • Home
  • About
    • Rental Spaces
    • FAQ
    • Prop Closet
    • Meet the Team
  • Book
  • Events
    • Host your own event at Lightbox!
    • Event Tickets
    • Elope at Lightbox
  • Box Blog
  • shop
  • Contact
  • Tour
  • Sign In My Account

How To Use the Ring Light for Your Rental!

February 3, 2020 Bekah Schooler
IMG_0993.jpg

Did you know…

we have a ring light you can add to your rental at Lightbox? Below I am going to discuss some of the ways you can utilize it during your rental!

Let’s start with the basics!

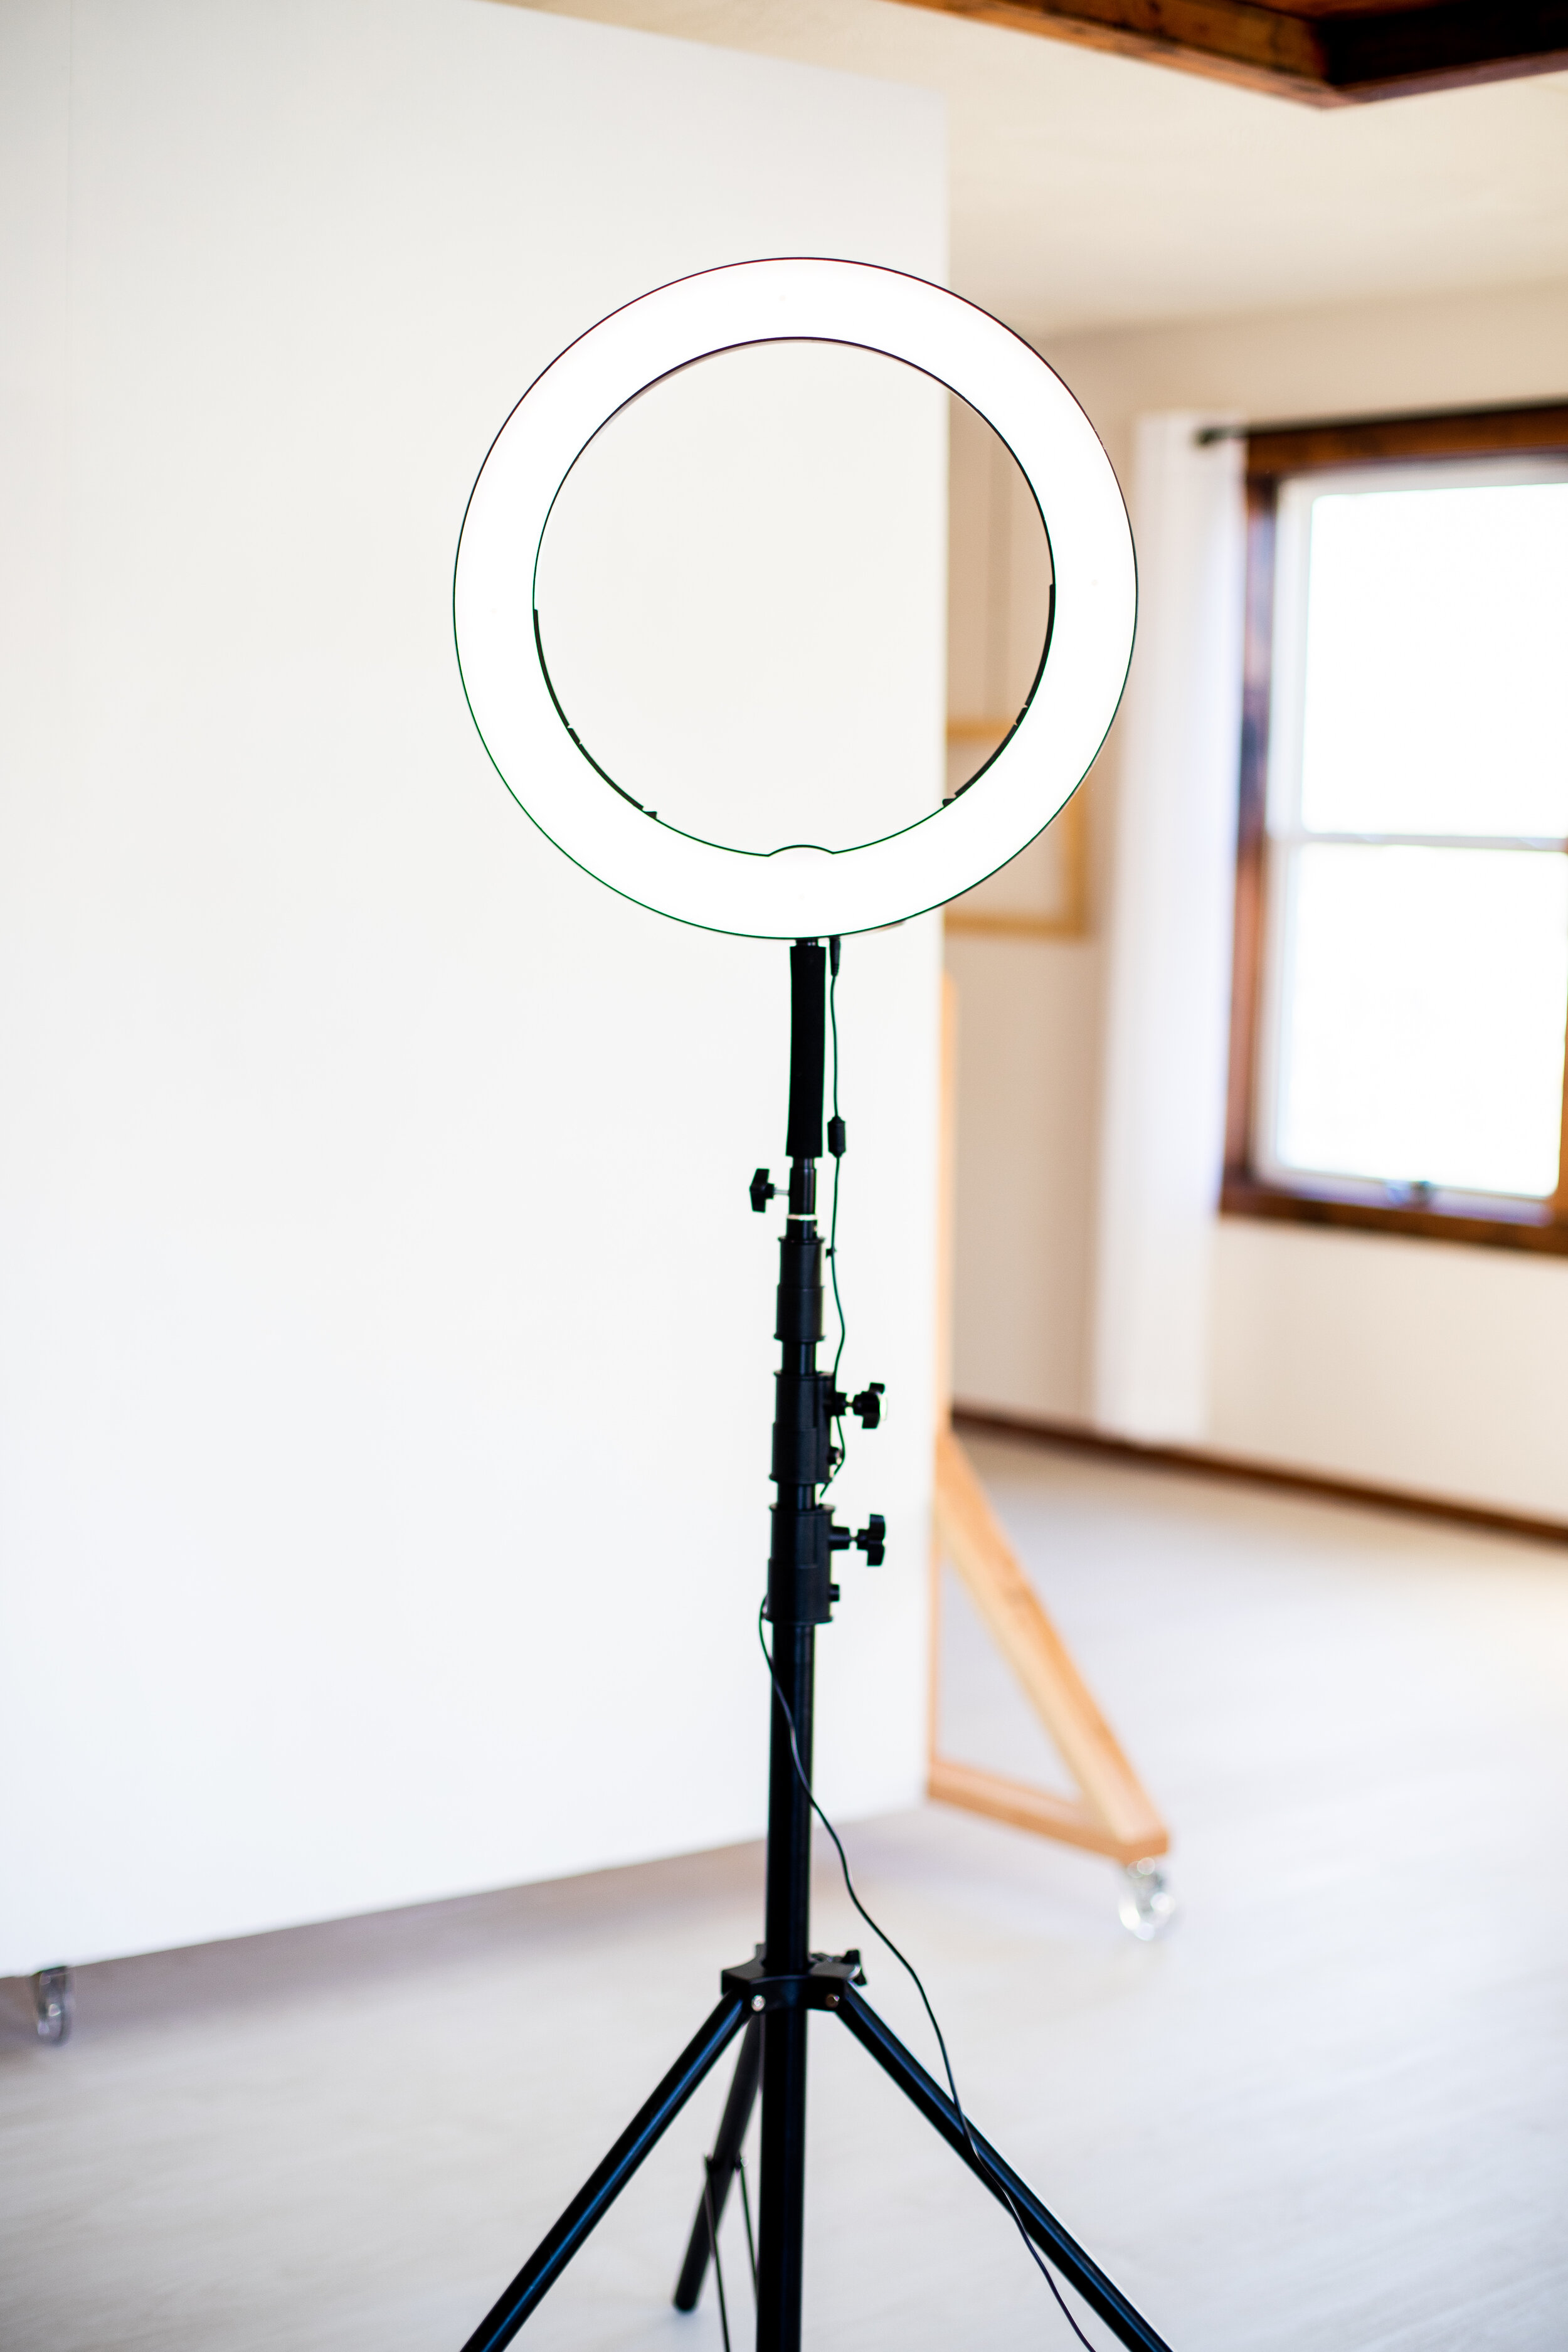
With the ring light you have the ability to control the look and lighting of your photos! It can be added to any rental for just $15 and you can add it the day of your rental! This is a great option if your rental happens to be on a cloudy day and you want a little extra light for your photos!


There are two sliders on the ring light, one that controls temperature and one that controls brightness. Since it is a slide and not a switch, you have complete control over how bright you want the light and whether you want cool tones, warm tones, or somewhere in the middle!

 
IMG_1034.jpg
IMG_1009.jpg

The ring light is super user friendly, so you totally don’t have to be a professional photographer to utilize it for your rental! It also comes with a tripod to hold a cell phone!

Our rolling white backdrop, the ring light and some banners or props make the perfect setup for a do-it-yourself photo booth during your next party!

 
IMG_1688.jpg

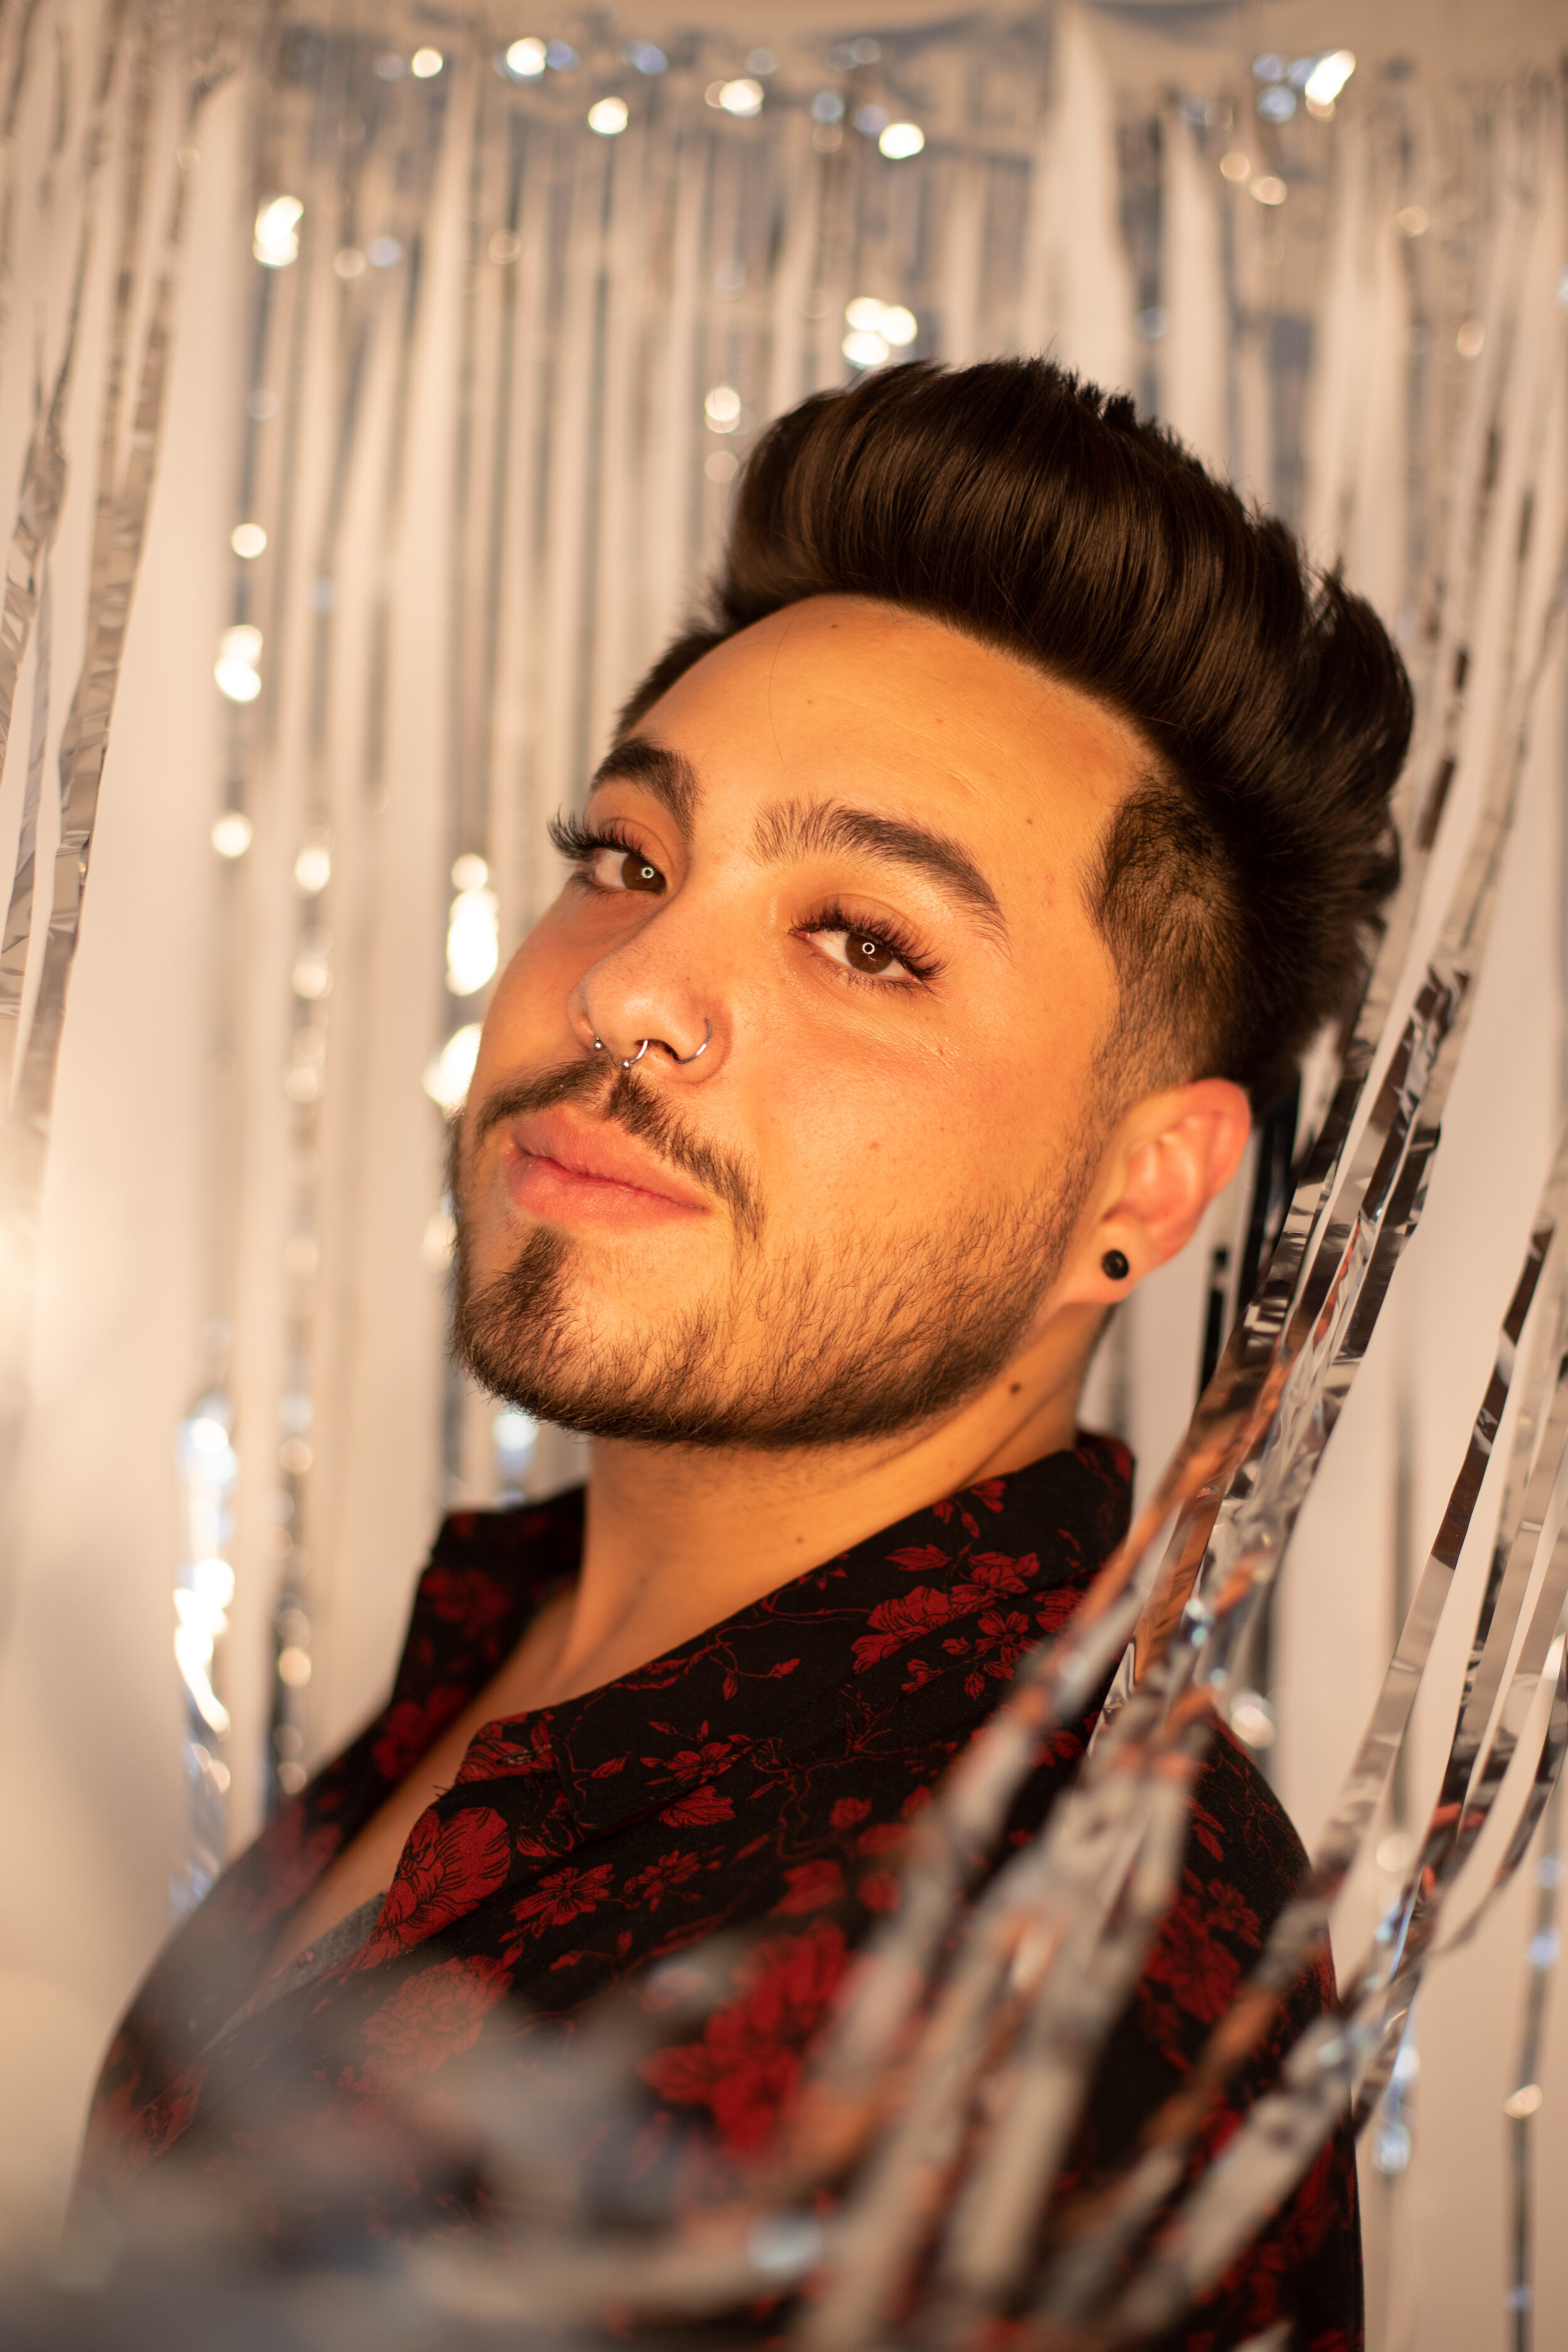
Below are some examples of how I used the ring light during my photo session with Jacob!

All of these photos were taken with the same camera settings and all of them were taken about 30 minutes before sunset when natural light was starting to fade!

The only difference between them is the light temperature and brightness settings I had on the ring light!

BEFORE: This photo was taken with the ring light set to cool tones and the brightness on high

BEFORE: This photo was taken with the ring light set to cool tones and the brightness on high

BEFORE: This photo was taken with warm temperature settings and the brightness on medium!

BEFORE: This photo was taken with warm temperature settings and the brightness on medium!

BEFORE: This photo was taken with only natural light! Keep in mind that it was almost dark outside so there wasn’t much light to work with in the first place. In a normal situation I would change my camera settings, but I kept the the same as the ph…

BEFORE: This photo was taken with only natural light! Keep in mind that it was almost dark outside so there wasn’t much light to work with in the first place. In a normal situation I would change my camera settings, but I kept the the same as the photos above to illustrate the differences between all the photos!

AFTER: For the cool tones settings I just enhanced them a bit! This setting fit really well with Jacob’s skin tone and the backdrop we were working with!

AFTER: For the cool tones settings I just enhanced them a bit! This setting fit really well with Jacob’s skin tone and the backdrop we were working with!

AFTER: For Jacob’s skin tone I did bring down the warm tones and oranges in editing just a bit to match my own personal style but I love the look of the finished product! The warm tones would be really great with other skin tones or if you were goin…

AFTER: For Jacob’s skin tone I did bring down the warm tones and oranges in editing just a bit to match my own personal style but I love the look of the finished product! The warm tones would be really great with other skin tones or if you were going for a specific style!

AFTER: I had to work a lot harder with editing on the photos with only natural light! I felt like it left them a bit grainy and the backdrop doesn’t pop quiet as much as it does when i’m using the ring light!

AFTER: I had to work a lot harder with editing on the photos with only natural light! I felt like it left them a bit grainy and the backdrop doesn’t pop quiet as much as it does when i’m using the ring light!


Here are some bonus pictures that were taken with the ring light when it was pitch black outside!

IMG_1659.jpg
IMG_1708.jpg
IMG_1669.jpg
IMG_1722.jpg

Are you ready to get creative? Book and add the ring light here!

Blog and photos by Bekah Schooler, Studio Assistant at Lightbox & Owner of Illuminate Photography.

Tags springfield mo, Springfield MO photo studio, springfield missouri, Springfield MO studio, Springfield MO studio space, Springfield Mo coworking, springfield mo photography, midwest photographer, midwest photo studio, commercial street Springfield mo, coworking Springfield mo, historic c-street, historic commercial street, route66, springfield mo event space, 417, 417 photo, 417 photography, 417 spots, 417 photo studio, ring light, how to, how to use a ring light, photo studio, the loft, loft studio, natural light studio, natural light photo studio, lightbox, lightboxsgf, Lightbox Springfield MO
← Q&A with Celia Duncan - Unions with CeliaQ & A with a Photographer - Sierra Eckert of Ozark Mountain Images →

600 E Commercial Street, Springfield, MO 65803

POWERED BY SQUARESPACE.